BUILDING THE ULTIMATE AXE!
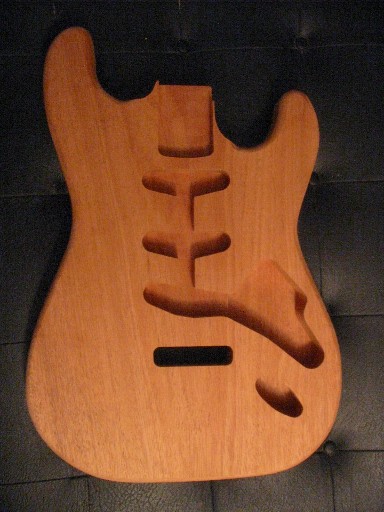
Starting with a pre-routed solid (1 piece) Mahogany body. This is neither drilled nor contoured.
STEP 1:
Turn the small NYC kitchen into a woodworking shop by moving all appliances off the counter and onto the stovetop!
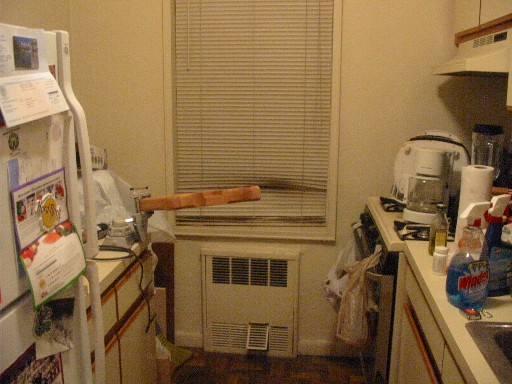
This looks like a mid-west kitchen hit hard by a tornado!
NOTE: Lesson learned the hard way. Cover EVERYTHING with plastic trash bags or a drop cloth. Use masking tape over the drawer and cabinet openings. Sawdust is a b*tch to clean up, and it gets into everything!
STEP 2:
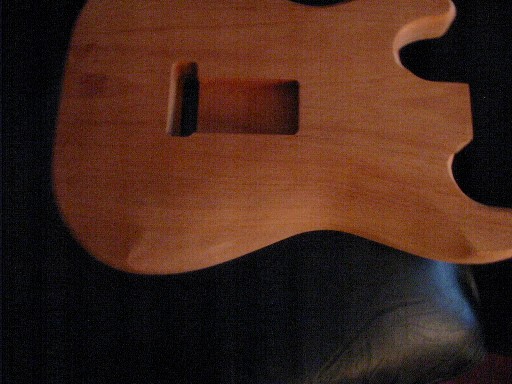
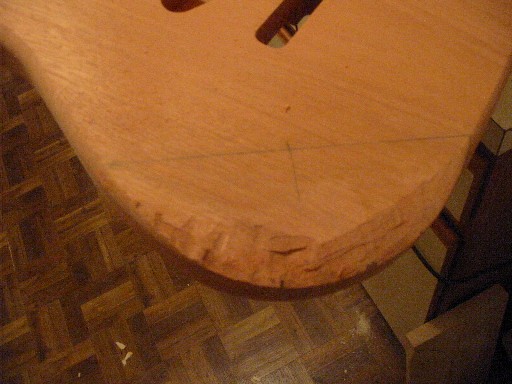
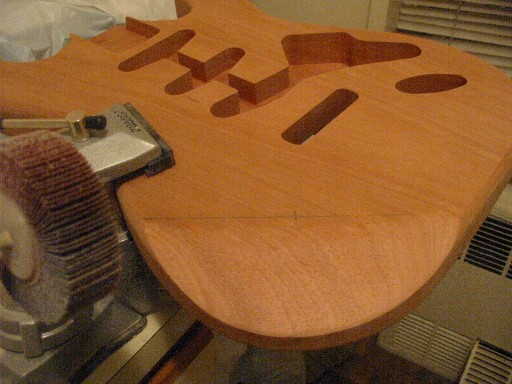
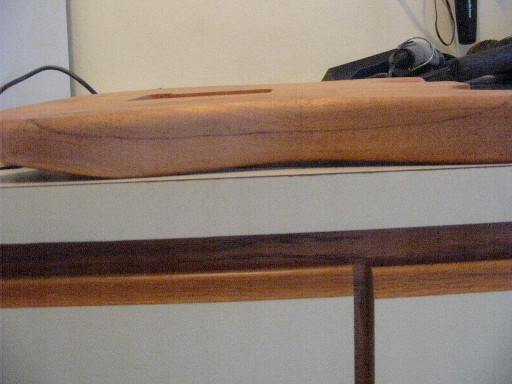
Mark the front for the arm rest contour. I made a template by roughly tracing my IBANEZ RG guitar on a piece of paper. I cut out the template, and then traced it lightly on the guitar body for an approximation. I then re-drew the final shape free-hand. I had to make sure that the center-line on the top of the guitar lined up with the deepest cut on the side. (Where the guitar body will be the narrowest. For this, I measured precisely with a ruler and traced along the straighedge. Note the centerline in the pictures.
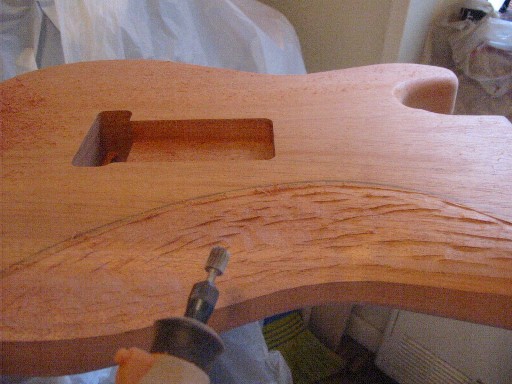
Begin cutting with the Dremel. Guitar is held in place by a counter-top vise. This vise is held on with a suction cup and lever. NOTE: Lesson learned the hard way: Make sure the surface is CLEAN and even spray a little windex on the bottom of the suction cup to help it stick better. Yes - this guitar did a Pete-Townsend off my countertop. No real damage done, I caught it just in time. But, I did break a nail in the process.
Lesson NOT learned the hard way: If you have never used a Dremel before, practice on a scrap piece of wood before moving on to the actual project! You WILL thank me for this one.
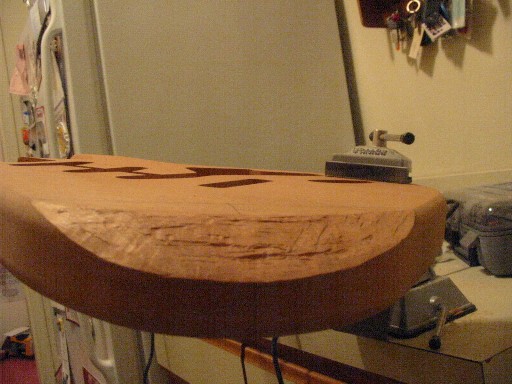
STEP 3:
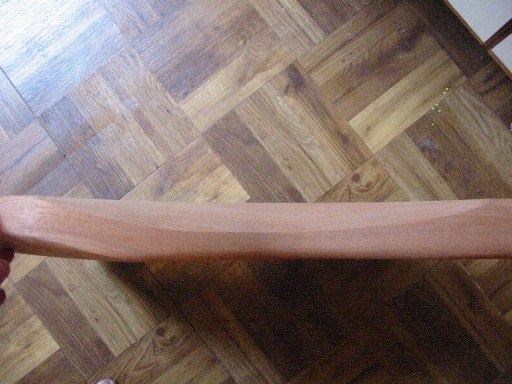
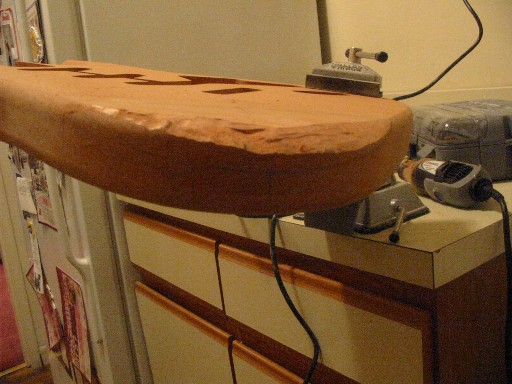
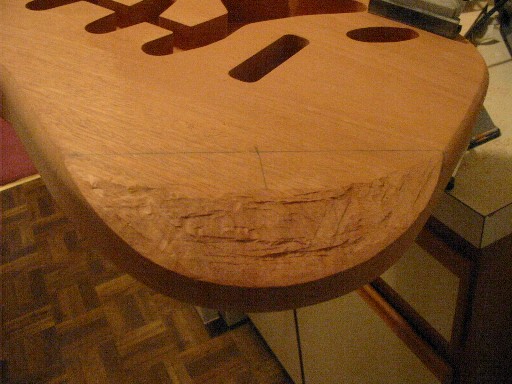
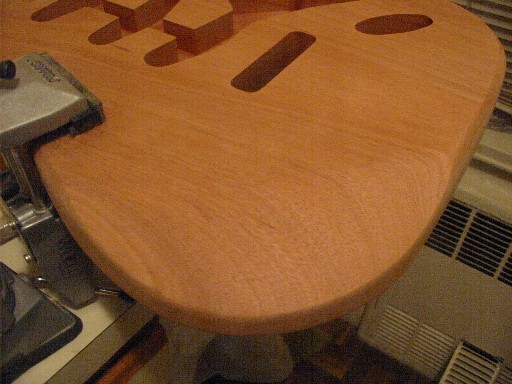
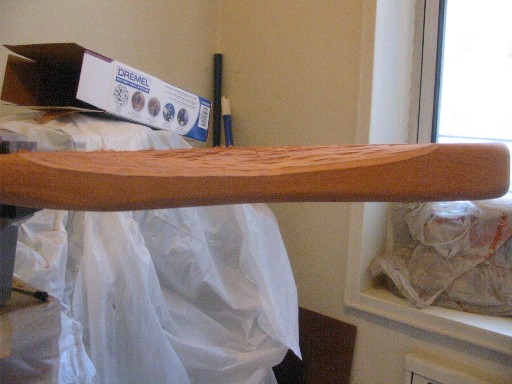
After rough cut and shape with the Dremel, smooth out and shape more precisely with the flat file. I would have cut closer to the line with the Dremel, but due to the shape of the drill bit and the angle at which I was cutting the contour, this was not possible.

Smooth out with a flapwheel:
STEP 4:
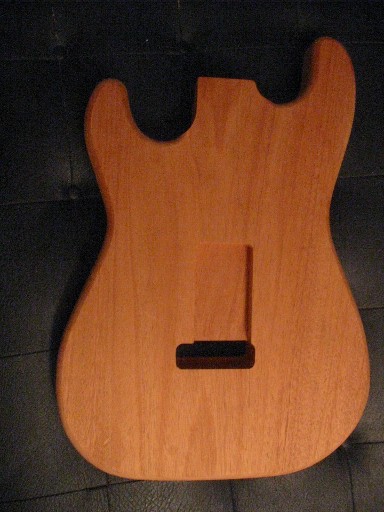
Same procedures for "tummy" contour.
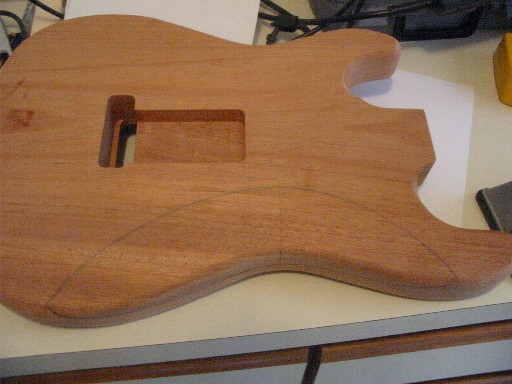

CONTOURS DONE! BODY IS NOW READY FOR SANDING!